It’s not just you who has been disappointed with Sony Smart TVs’ poor sound quality when watching movies or TV shows. With a Receiver, you can get better sound output on your smart TV. Having a compatible receiver and TV set is important to enjoy your favorite shows and movies on your big-screen TV.
Those of you with an Onkyo receiver and Sony smart TV are in luck! The Onkyo receiver is a fantastic piece of media equipment that can be used to watch your favorite movies, television shows, and music on your TV. As well as offering a variety of features that will enhance your media experience, the interface is intuitive and easy to navigate.
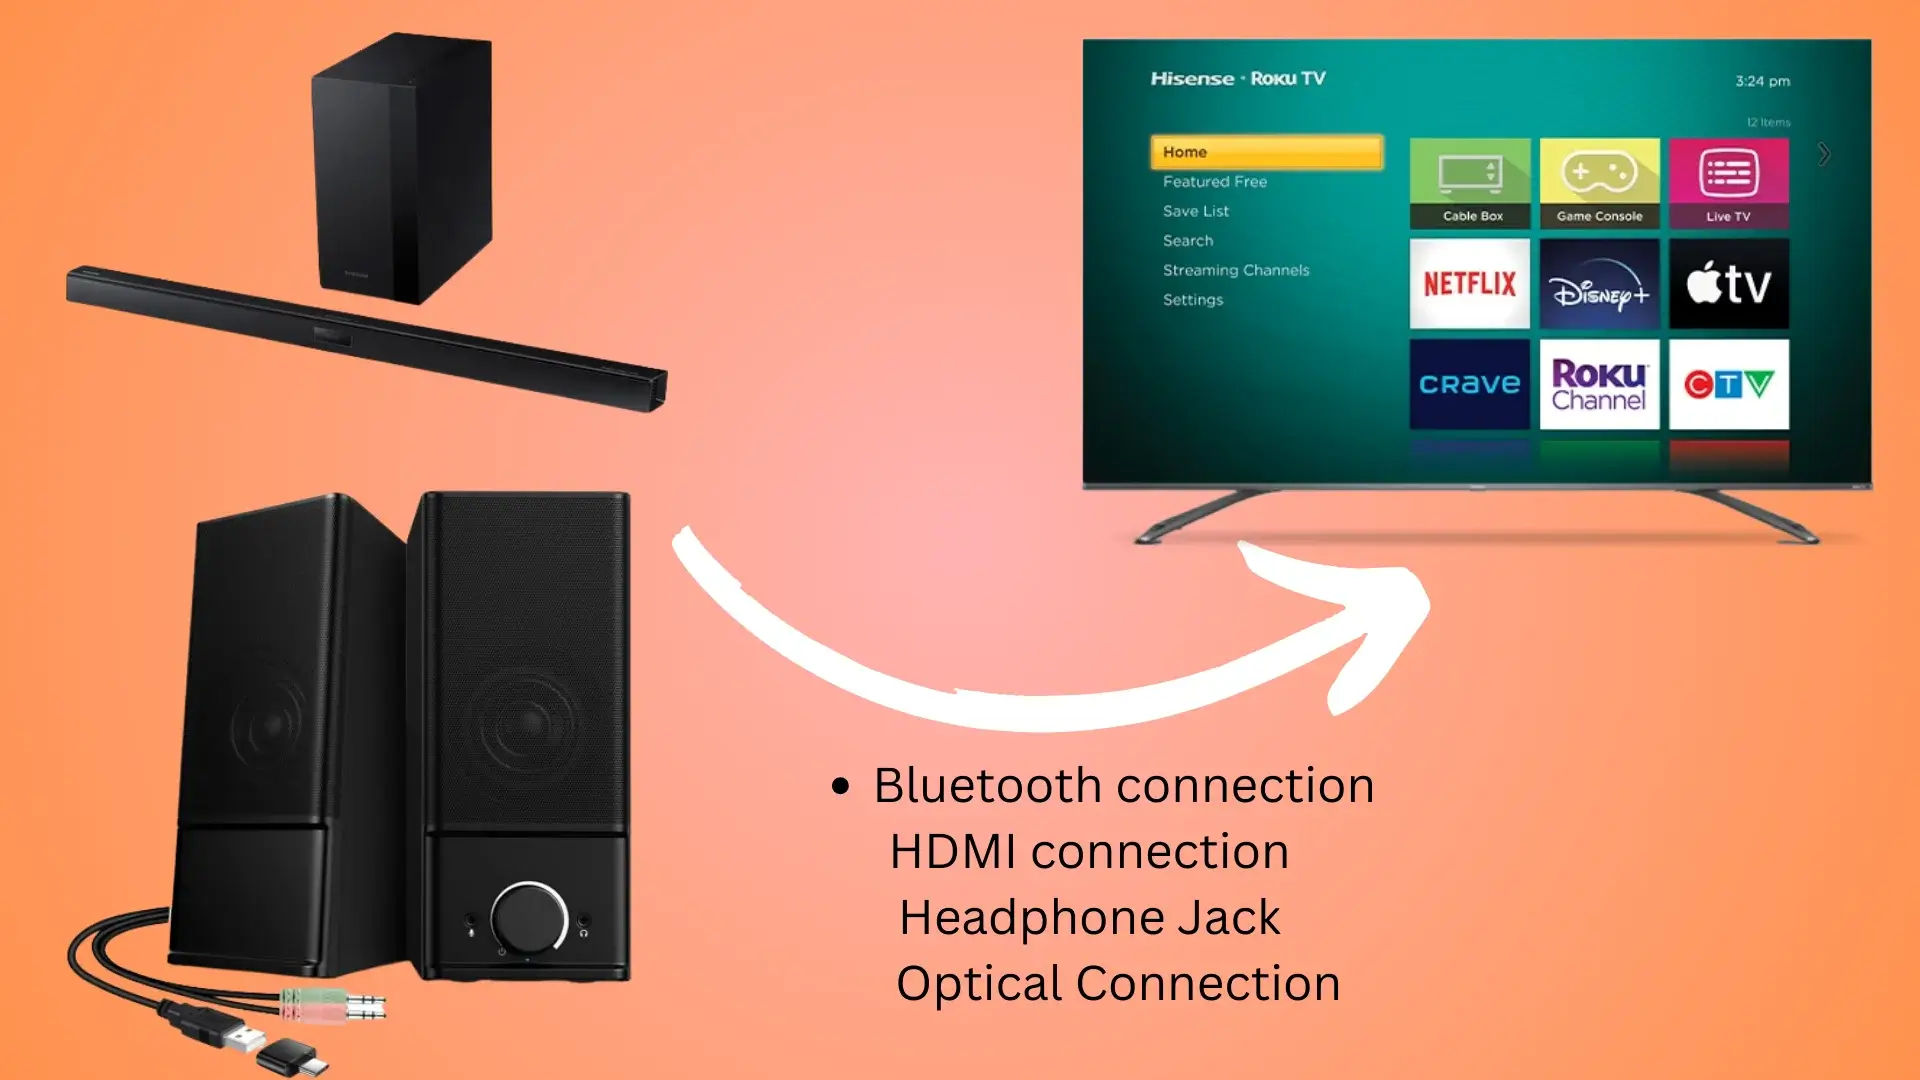
Four methods are available if you’d like to connect your Onkyo receiver to your Sony Smart TV:
- HDMI Connection
- Optical and HDMI Cable
- Single Optical Cable
- Analog audio cable
Connecting Onkyo receiver to sony smart tv using HDMI Connection
Team Wooster Audio will show you steps to connecting any Onkyo receiver to your Sony smart TV with an HDMI connection by using the ARC feature. This is a great way to improve the audio and video quality of your content without having to purchase additional equipment, so follow the steps below:
- HDMI IN
- HDMI cable
- HDMI OUT
As we know that both Sony Tv and Onkyo Receiver have supported HDMI Arc label port available, which you can clearly watch in the picture below:

- Connect HDMI cable to HDMI Arc (or eARC/ARC) Labeled port
- Now Open Smart TV Settings (Use the Quick Settings button ) or press the HOME button (On Remote Control and Settings
Two Same Steps For Different Smart Tvs:
How to Set Speakers to Audio Systems In Sony Smart TVs?
- Now in the menu, you have to select Display & Sound > Audio output > Speakers > Audio system.
- Select Sound > Speakers > Audio system
- Now Set the BRAVIA Sync control to On
- Use Control for HDMI setting (Tv /Audio System)
Connecting Onkyo receiver to sony tv using Optical digital audio cable and HDMI cable:

Connecting the Onkyo receiver to a Sony TV setup can be a bit of a hassle, as the two devices use different types of cables. Now Team Jejupro.com will show you how you can do it in a few steps:
- HDMI IN
- HDMI cable
- HDMI OUT
- Optical Digital OUT
- Optical digital audio cable
- Optical Digital IN
So Here is,
- Connect your HDMI cable to sony smart tv HDMI IN (ARC or eARC) port.
- Now connect the other end of the HDMI Cable to your Onkyo receiver HDMI OUT (ARC or eARC) port.
- Now we will use an optical digital audio cable, which you have to connect to your smart tv Optical Digital OUT port properly and on the other hand, you have to connect the other side of the cable to the Optical Digital IN port of your Onkyo receiver.
- Now Turn ON Sony Smart Tv
- Set Speaker to the audio system (Click Here)
- Set the BRAVIA Sync control to On.
- Turn On the Audio System
How to connect Onkyo receiver to sony tv using Analog audio cable?

To connect an Onkyo receiver to a Sony TV using only an Analog audio cable, follow these steps:
- Analog Audio OUT
- Analog audio cable
- Analog Audio IN
For this purpose, the Analog audio cable is requires:
- Connect the first analog audio cable to your sony smart tv Analog Audio OUT port.
- Now connect the other end to your Onkyo receiver Analog Audio IN port
- Now Set Speaker To Audio System (Click Here)
What should I do if I can’t get any sound from my Onkyo receiver when connected to my Sony Smart TV?
First, ensure the Sony Smart TV and Onkyo receiver are connected through HDMI or audio cable. Ensure both devices are turned on and have the proper input/source selected. On both devices, adjust the audio settings, and if necessary, go to the user manuals for troubleshooting instructions. Test your software using various wires and gadgets.
In A Nutshell
So If you are looking to connect an Onkyo receiver and sony tv together, our team Woosters described a few different ways that you could do this (Super easily). The steps include HDMI Connections, Single Optical Cable, Analog audio cable and with Optical and HDMI Cable, so whatever procedure you feel is easy to do; you can follow them in order to connect your receiver and TV.
More Related For You!