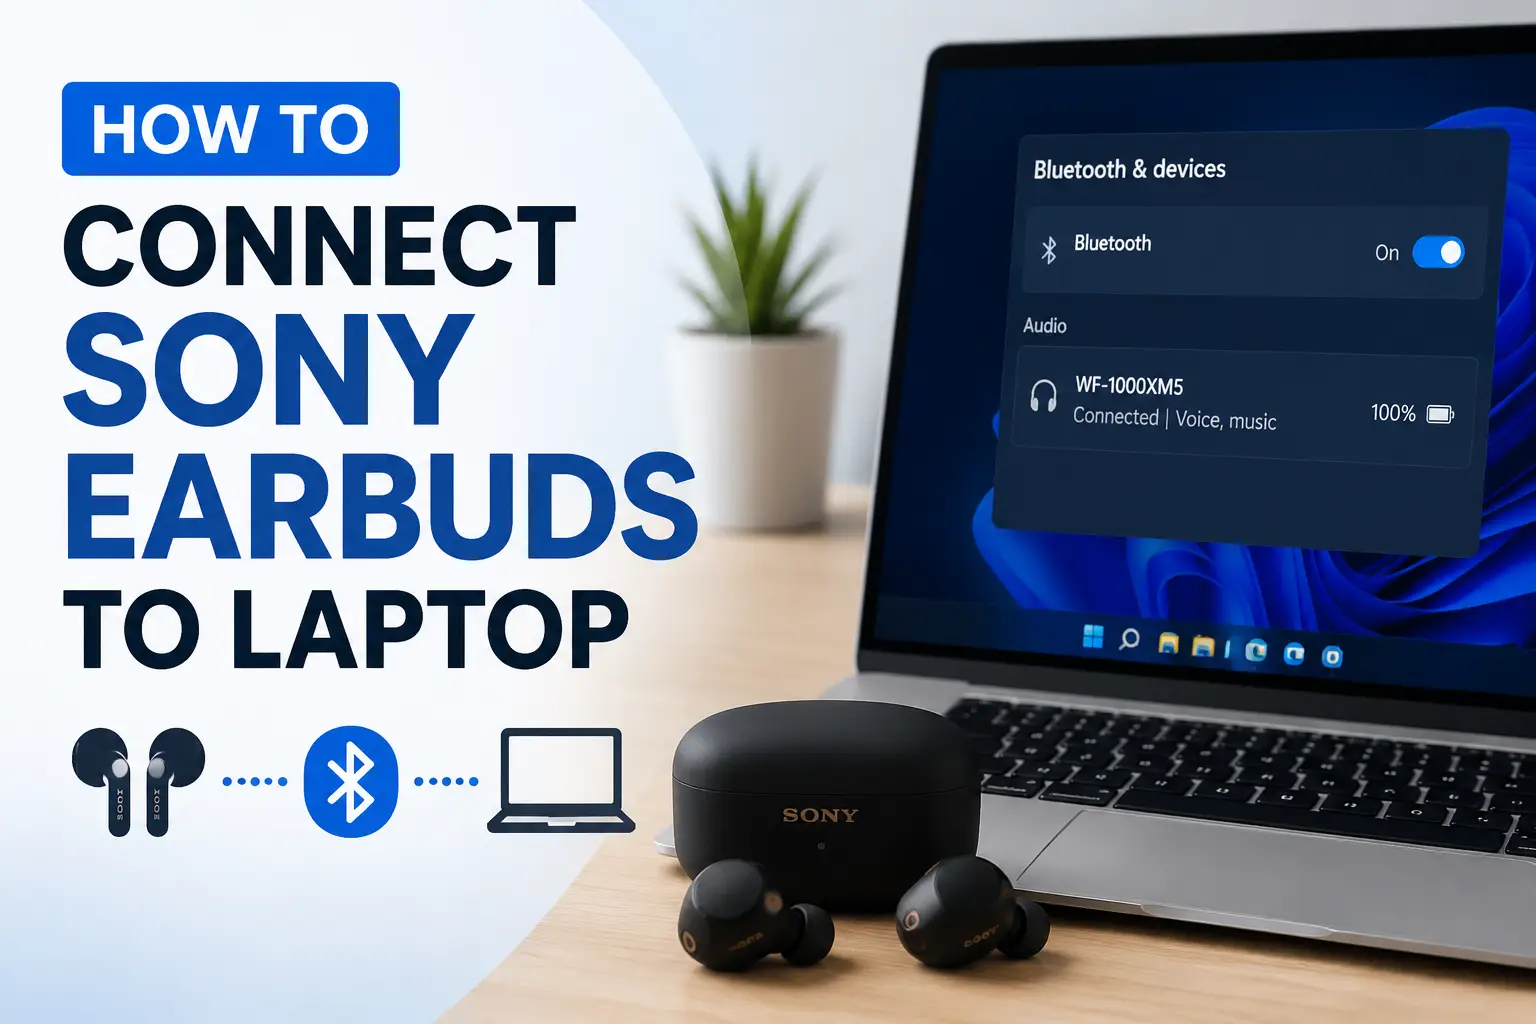
In today’s world, wireless audio is a standard expectation, but even simple tasks like connecting your earbuds to a laptop can cause confusion. Whether you recently purchased a pair of Sony earbuds or just want to get the most out of your existing ones, understanding the connection process can save you time and frustration. This guide breaks down everything you need to know, from preparation to troubleshooting, so you can enjoy your music, calls, or gaming sessions without interruption.
Understanding the Basics
Before you start connecting, it’s important to understand what type of earbuds you have. Sony offers both true wireless earbuds like the WF-1000XM series and wireless earbuds with a neckband or Bluetooth dongle. While most modern laptops support Bluetooth, some older models may require a USB dongle or wired connection. Knowing your device type helps prevent unnecessary confusion later.
Sony earbuds are primarily designed for Bluetooth connections. This means they communicate with your laptop wirelessly, eliminating cords and giving you more freedom to move around. However, Bluetooth connections can sometimes be tricky, especially if your laptop has outdated drivers or interference from other devices.
Preparing Your Laptop
Before pairing, make sure your laptop’s Bluetooth is enabled. On Windows, you can do this by opening Settings, then navigating to Devices > Bluetooth & other devices, and toggling Bluetooth on. On a Mac, you can find Bluetooth settings under System Preferences > Bluetooth. Ensuring your laptop is ready prevents pairing errors and reduces connection delays.
Updating your laptop’s Bluetooth drivers is another important step. Outdated drivers are a common reason earbuds fail to connect. On Windows, you can check for updates through Device Manager, while MacOS usually handles updates automatically. Taking these steps ensures smoother performance and fewer dropped connections.
Pairing Your Sony Earbuds
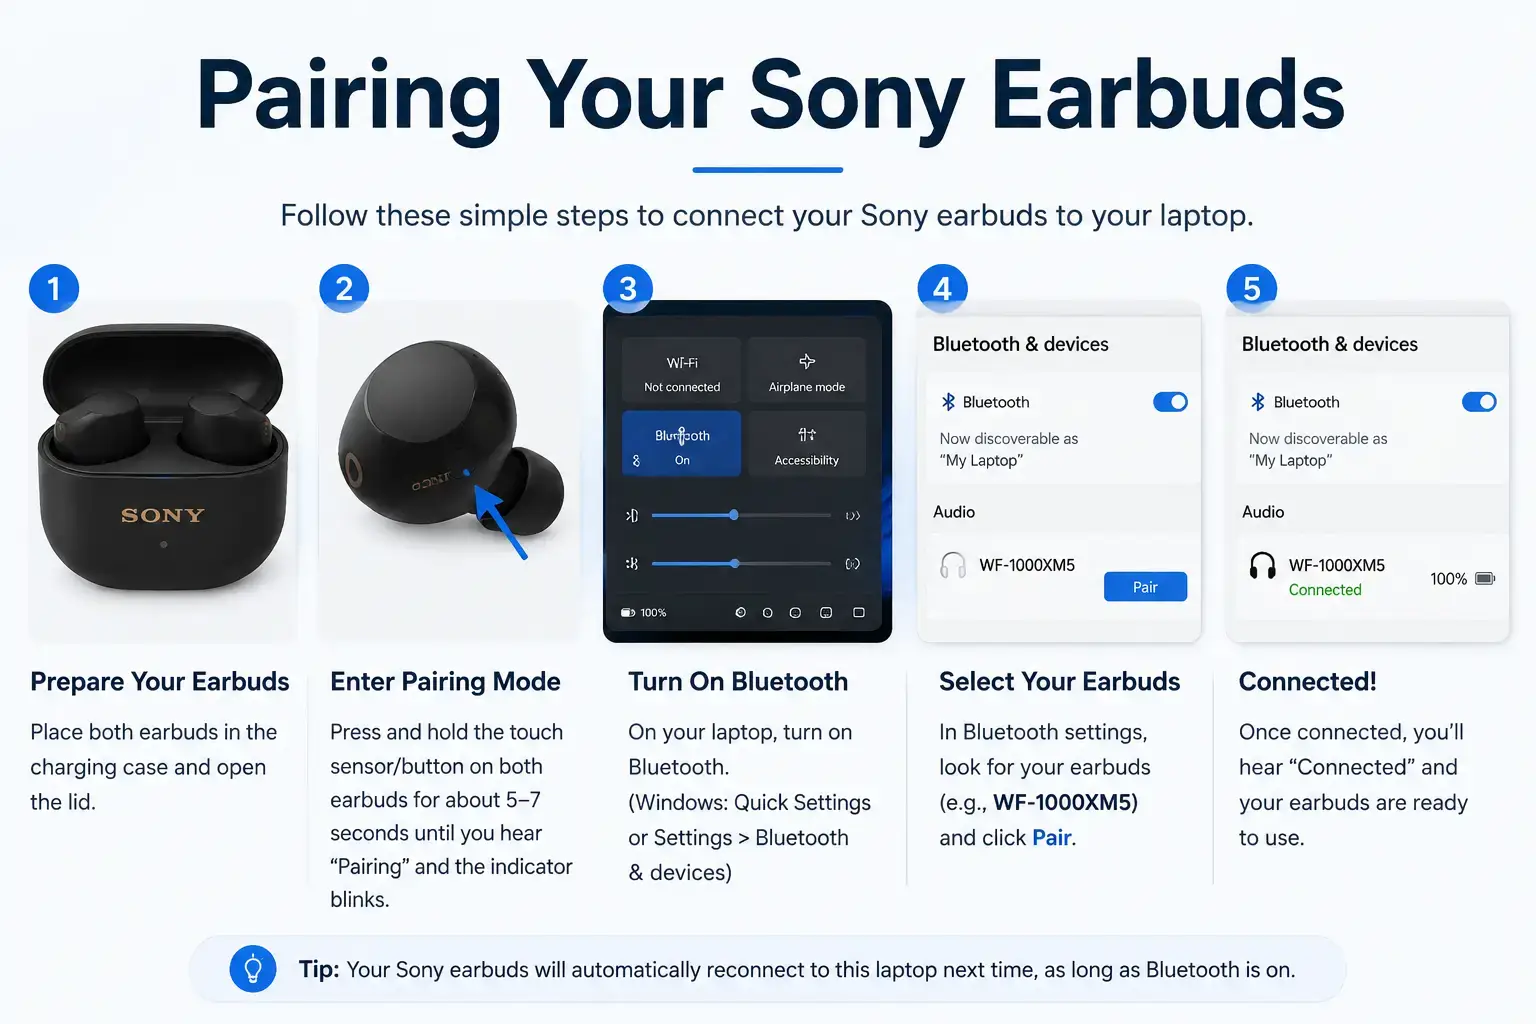
Pairing your Sony earbuds is straightforward once you know the steps. First, put your earbuds into pairing mode. For most models, this involves pressing and holding the power button or touch sensor until the indicator light starts flashing. Refer to your specific model’s manual for exact instructions, as some models have slightly different procedures.
Once your earbuds are in pairing mode, search for them on your laptop. On Windows, click Add Bluetooth or other device, then select Bluetooth and look for your earbuds in the list of available devices. On Mac, select your earbuds from the Bluetooth menu. Once connected, your laptop should confirm the pairing, and audio will automatically route to your earbuds.
Troubleshooting Common Issues
Even with clear steps, issues can arise. One common problem is earbuds not appearing in the Bluetooth list. If this happens, ensure your earbuds are fully charged and in pairing mode. Sometimes, turning Bluetooth off and on again on your laptop resolves detection problems.
Another issue is intermittent audio or lag. This is often caused by interference or distance from your laptop. Try moving closer to the device, removing other electronic devices from the area, or updating your laptop’s Bluetooth drivers. If lag persists, restarting both your earbuds and laptop can reset the connection and fix temporary glitches.
If your laptop still fails to recognize the earbuds, resetting them can help. Most Sony earbuds have a reset option in the manual, which restores factory settings and clears previous pairings. After resetting, attempt pairing again from scratch. This step usually solves persistent connection problems.
Optimizing Sound and Settings
Once connected, adjusting your audio settings can enhance the experience. On Windows, you can access the sound control panel to select your earbuds as the default playback device. On Mac, this can be done through System Preferences > Sound. This ensures all system audio routes correctly through your Sony earbuds.
For users with Sony’s WF-1000XM series, the Sony Headphones Connect app allows additional customization, including equalizer settings and adaptive sound control. Even though this app is primarily mobile-focused, some features can enhance how your earbuds interact with your laptop, especially if you occasionally switch devices.
Maintaining Your Connection
To keep your connection reliable, always store your earbuds in their case when not in use. This preserves battery life and reduces wear on Bluetooth components. Regularly checking for firmware updates through the Sony Headphones Connect app also improves connectivity and fixes known issues.
Using your earbuds with multiple devices is possible, but switching frequently can sometimes confuse the connection. Disconnecting from one device before connecting to another is a good habit. This avoids accidental connections or audio routing problems.
Why Connecting Wirelessly Matters
Connecting your Sony earbuds to a laptop isn’t just about convenience. Wireless earbuds provide freedom of movement, better sound quality without interference from wires, and a streamlined setup for calls, gaming, or streaming. Learning the proper connection steps ensures you get the best experience without technical frustration.
Conclusion
Connecting your Sony earbuds to a laptop is a process that’s mostly straightforward, but understanding the right steps can prevent unnecessary headaches. Start by preparing your laptop, ensuring Bluetooth is active and drivers are updated. Then, pair your earbuds carefully, following model-specific instructions. Troubleshoot issues with basic fixes like resets, driver updates, and proximity adjustments. Finally, optimize your sound settings and maintain your earbuds to ensure a reliable connection over time.
With these steps, you can move smoothly from unboxing to enjoying crisp, clear sound. Once your earbuds are connected, everything from video calls to music playback becomes simpler and more enjoyable. By learning these basics, you not only save time but also gain confidence in using your devices to their fullest potential.