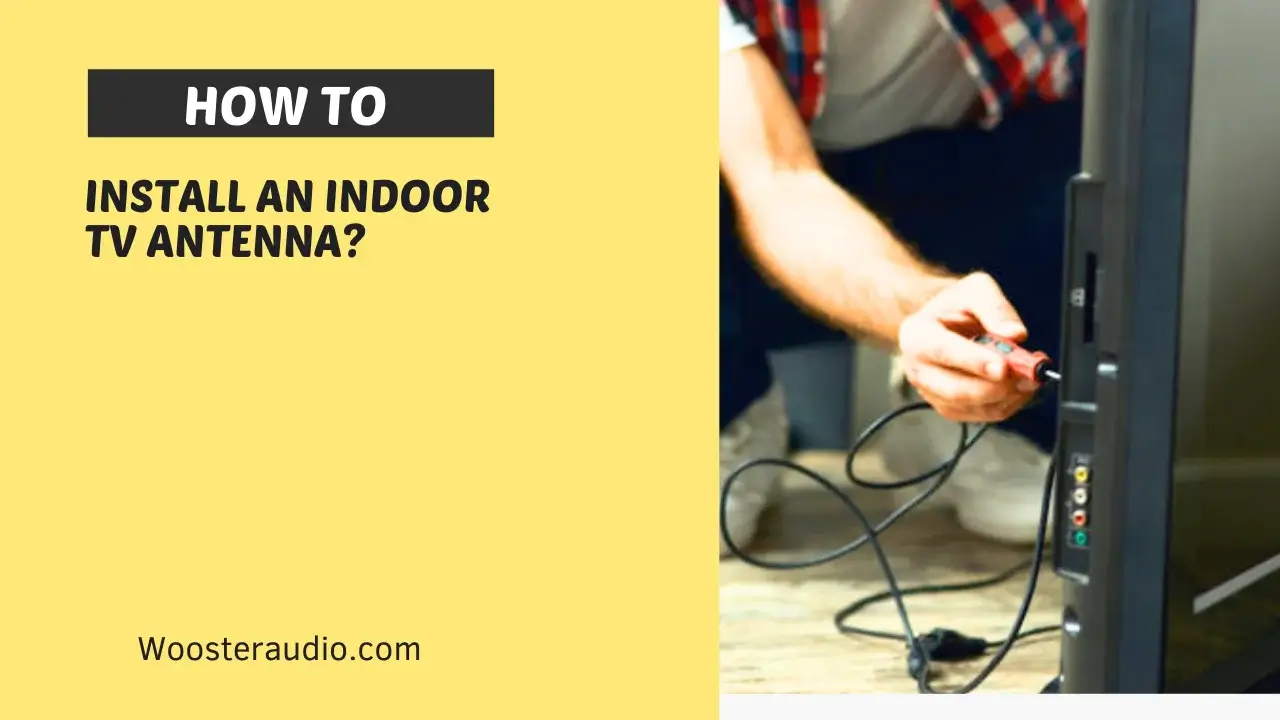
The best way to watch free Over-the-Air (OTA) TV without a cable subscription is to install an indoor TV antenna. But most of us need to learn about how to install indoor Tv Antenna properly, so below, team Wooster Audio will guide you in several steps.
Note: OTA Antenna Installation is simple
A TV antenna installation may require the following items:
- You can choose any indoor TV antenna you want and any associated hardware.
- If you have a digital tuner, you will need it
- Connecting cable for TVs
- Extension cable for 75-ohm coaxial signal
- Pliers
- Screwdrivers
- Nuts, screws
- Hot glue gun, poster paste, tape
Step By Step Guide On Installing Indoor Tv Antenna
Step no 1: Choose the Right Antenna
TV antennas come in different types, so selecting the right Antenna one for you need is plays much important role and based on the following:
The type of TV you have: It is likely that newer TVs come equipped with a digital tuner, whereas older TVs require an antenna that comes with a digital converter box.
Broadcast tower distance: It depends upon your distance from the broadcast towers if it is greater than the demand for a more powerful Antenna will require.
The Signal type you’re looking for: It depends on your needs whether you want an antenna that will only receive VHF signals or one that will receive VHF and UHF signals.
So a TV antenna should be selected based on a number of factors. For those living close to broadcast towers, we recommend indoor TV antennas.
Topic: How to connect Vizio Soundbar To Tv
Step No. 2: Select the Antenna’s best location (Key)
In my opinion, this is a crucial step and an important consideration, so I will recommend you to take time for successful antenna installation as it depends upon Antenna Type and Distance from the broadcast towers.
I recommend you not to put your Antenna near your Television. If you put Antenna higher, then this will be better for the television viewing experience. You can also place your Antenna in an area with a clear line of sight to the broadcast towers.
You may also find on your indoor antennas a small loop on the back or a hole that allows you to be attached to the wall or window frame with a bracket. A TV antenna is fitted over the roof or onto the wall if you live in an area with poor signal reception, like rural areas or out at sea.
Step No 3: TV Antenna Connection
After choosing the best location for your Antenna then, you have to connect your Antenna with your Television. Using a Coaxial cable is a better idea, and the coaxial cable connects to the Antenna on one end, and after that, you need to plug the other end into the “antenna in” port on your TV’s back.
Note: If your TV does not have an “Antenna in” port, a converter may be required.
Step No 4: Channel Scan
At this point, we get to the actual installation of the Antenna. You’ll have noticed that once you’ve secured your TV antenna at the highest point of your home (or outside on a balcony or chimney stack, for example), you have to complete a channel scan. Channel scanning is required for successful TV antenna installation. This final stage has been completed successfully, leaving you with plenty of channels to choose from when you’re watching your favorite TV shows and movies direct from Sky’s satellites in space!
As soon as the Antenna is connected to the TV, then you have to take your remote to access the TV’s “Menu” or “Settings” and select “Channel Scan.”
Or
Process 1
Press and GO TO ‘MENU’ ( ON Remote Control)
Process 2
Select ‘SET UP’ on the menu. Your owner’s manual may contain instructions on how to locate this option.
Process 3
Choose “ANTENNA"> “CHANNEL SCAN"> “AUTO TUNE.” A few minutes may pass before your TV rescans the available signals. You will now be able to access all of your channels once you have completed the process. Rerun the command if necessary.
Step No 5: Adjust the Antenna
After channel scan completion getting the best reception may require adjusting the Antenna, so If the reception is poor, move the Antenna around until it is working properly.
Why Need to Add An Aerial Amplifier?
We advise adding an aerial amplifier or signal booster to your transmission line if you’re experiencing a loss of signal because of the long distance between the broadcasting towers and your TV antenna.
Suppose you’re experiencing signal loss in a certain house area due to long coaxial cabling or want a stronger signal from your TV antenna. Adding an amplifier to your Antenna is a good idea in that case. Aerial amplifiers help broadcast the signals sent and received by TV antennas, especially those located farther away from the source transmitting the signal. However, ensure you have enough power going into your TV antenna. An antenna amplifier will only further maximize the strength of the signal being passed through, provided it has enough power to work.
Three Different Types of TV Antennas
- Indoor antennas
- Outdoor antennas
- Loft antennas
Tips For Installing An Indoor Tv Antenna
- For people living in rural areas requires a more powerful antenna.
- Did you have lots of metal in your home? If yes, then you may face trouble with signal blocking from the Antenna, so team Wooster Audio will recommend you to place your indoor tv antenna away from metal objects to get better results.
- Cables should be connected to the Antenna and placed near the Television.
- You can position your Antenna near a window (When the image still shows up fuzzy)
- Ensure the Antenna remains in direct line with the transmitter by avoiding obstructing it with (metal) objects.
- The picture can be placed high and moved from right to left until you get a clear picture.
- You should rerun the channel scan after relocating your TV antenna.
Installing An Indoor Antenna: Pros / Cons
Pros
- It’s inexpensive, and it’s portable if you’re moving
- Extremely easy to set up
- Budget-Friendly
- Easily portable
Cons
- In areas with weak signals, it does not work
- Depending on the walls, reception can be affected by concrete
Final Verdict
Tv antennas are sometimes known as rabbit ears. In other words, how can you tell if your rabbit ears are picking up any signals? If you can pick up a picture, they’re ready to go!
It doesn’t matter which side of the window you choose; ensure it isn’t obstructed by anything, as this will block your reception. If you still have trouble with picture quality after adjusting and rescanning your channels, consider using an amplifier to improve signal strength. A TV antenna doesn’t need to be complicated to install. If you can follow simple step-by-step instructions, there is no time to lose before you use your digital cable service.
The best way to access free OTA programming without a cable subscription is to install an indoor antenna.
With the right location, bracket, and coaxial cable, it takes relatively little time to install, and I will only recommend that you just remember to choose the best location, attach the Antenna to the wall, connect the Antenna to the TV, scan for channels, and adjust the Antenna as needed.
Can I use an indoor antenna if my TV doesn’t have an antenna input?
No, you can’t use an indoor TV antenna if your TV lacks an antenna input, i.e., an F-type coaxial cable connector. Antenna input is necessary for receiving signals. However, you can use a converter box or an alternative method like streaming or a set-top box for channel access if you don’t have antenna input.
More For Explore